After you have bought an addon for the Email Log plugin, you just have to follow the following simple steps to install and activate it. Also make sure you have the Email Log plugin already installed, before following these steps.
Downloading the add-on zip file
After you have bought an add-on from our store, you will receive an email from us which has the link to download the add-on and the license key. Just click the download link to download the add-on(s).
Installing the add-on
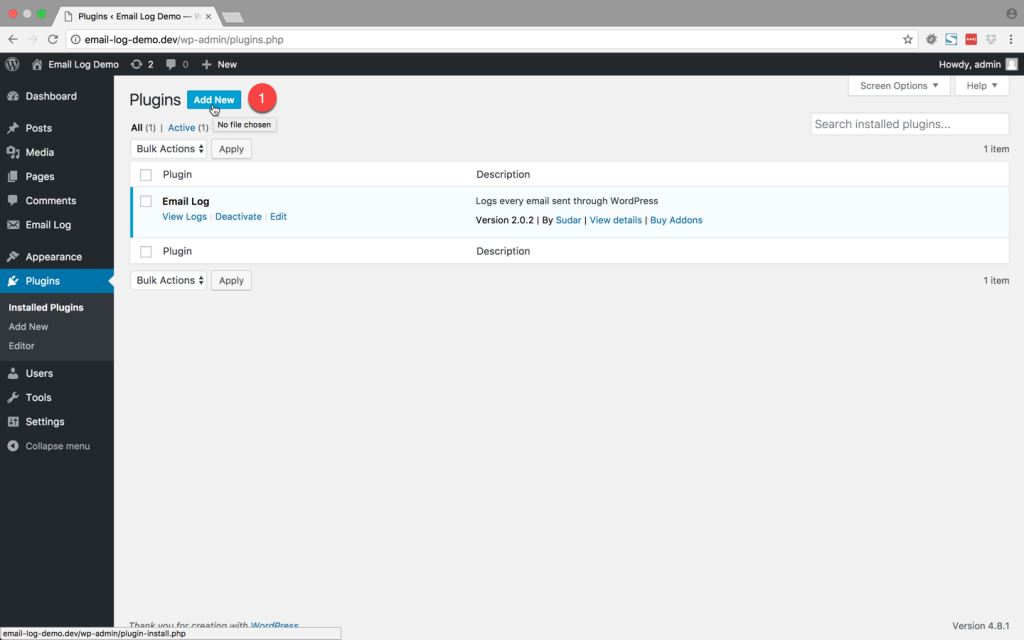
Once you have downloaded the add-on zip file, navigate to your WordPress “Plugins” page, inside of your WordPress dashboard, and follow these instructions.
- Click the “Add New” link and then click the “Upload” link in the next page.
- Click the “Choose File” button and then select the zip file that you just downloaded.
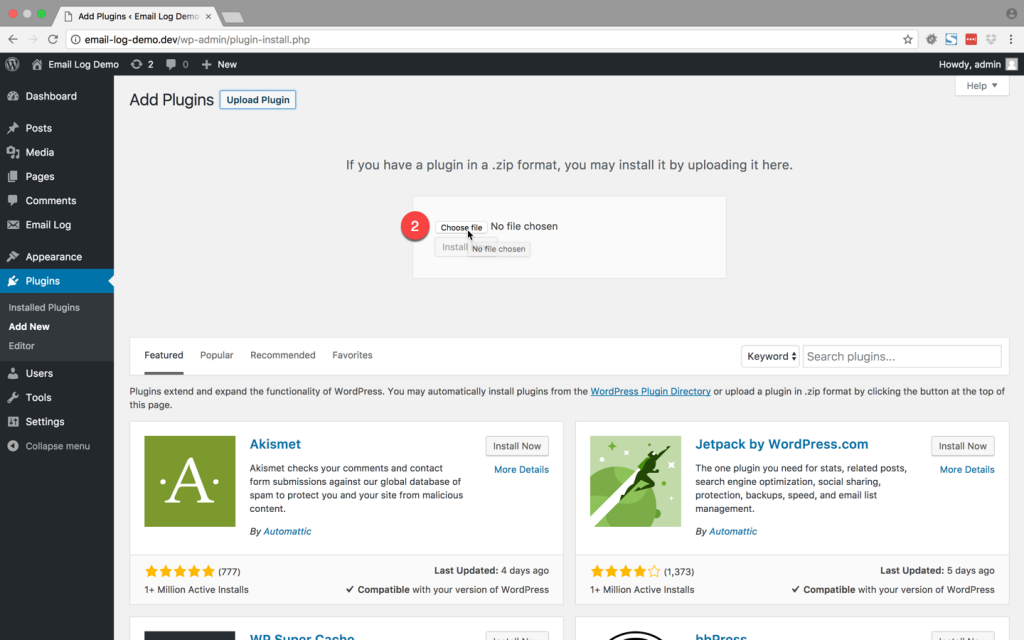
- Click the “Install Now” button.

- Click on the “Activate Plugin” button to activate the add-on.
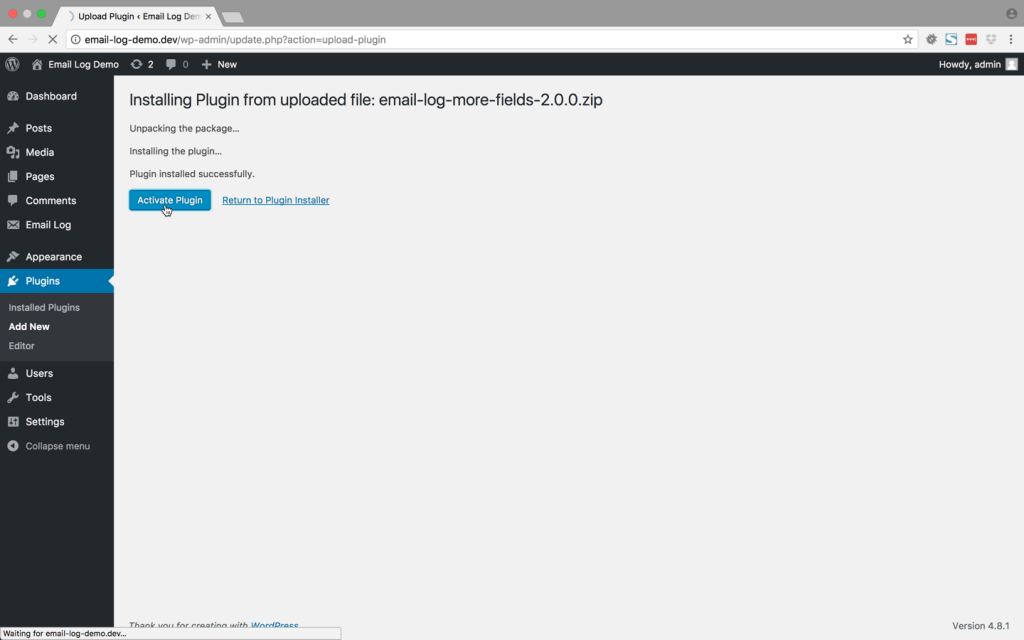
This will install the add-on. If you have bought more than one add-on, then you can follow the above steps again, to install the other add-ons.
Activating the license for automatic update
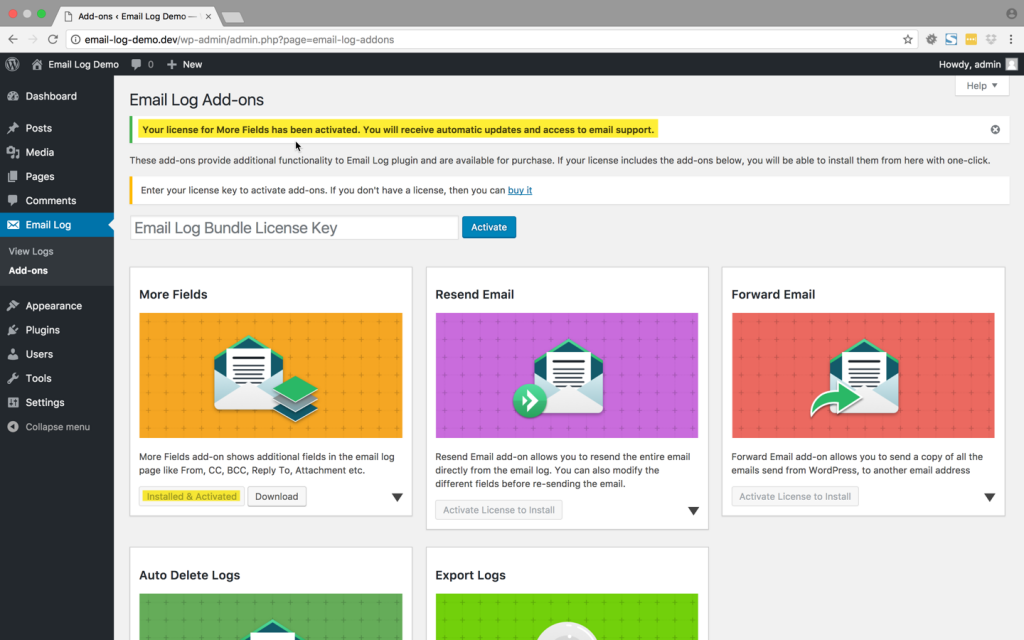
- Once the add-on is installed, head over to the Email Log → Add-ons page.
- Click on the down arrow at the bottom right corner of the add-on you just installed, to enter the license key.
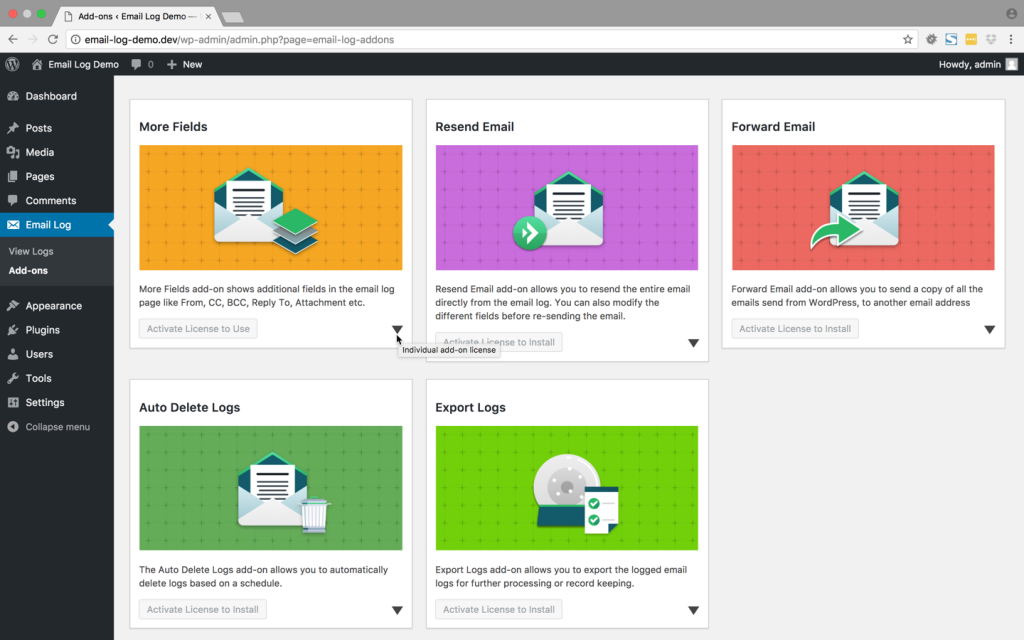
- Click “Activate” to activate the license.