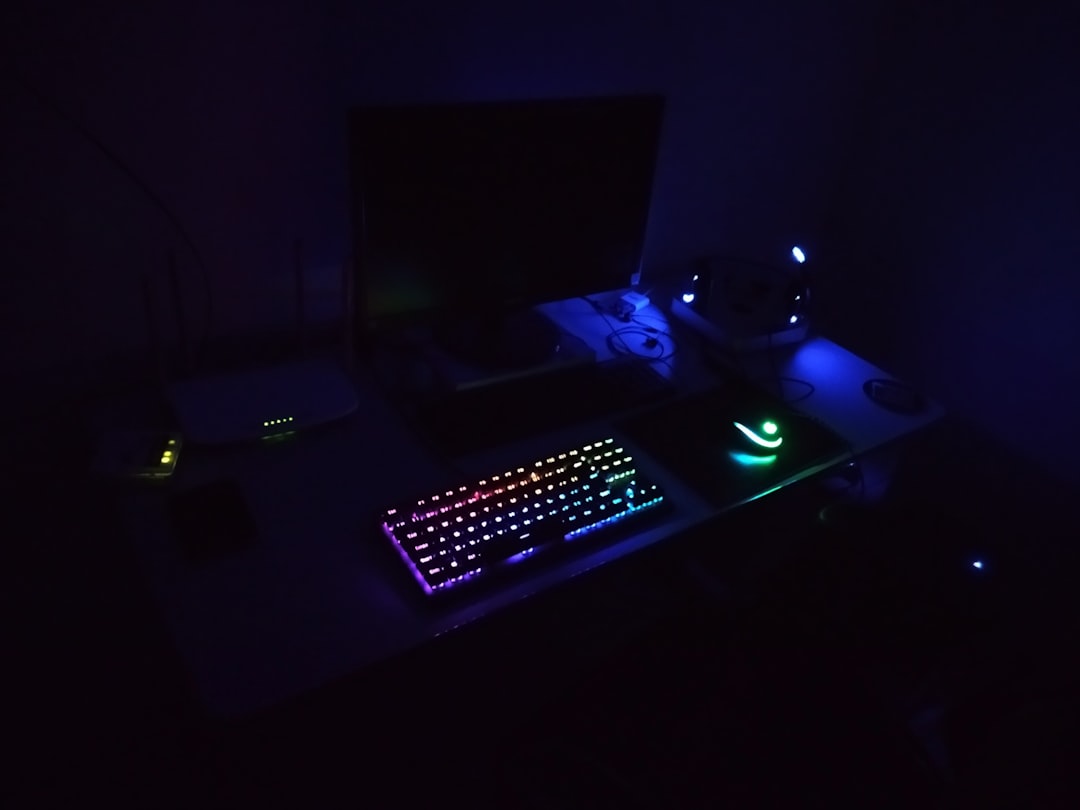
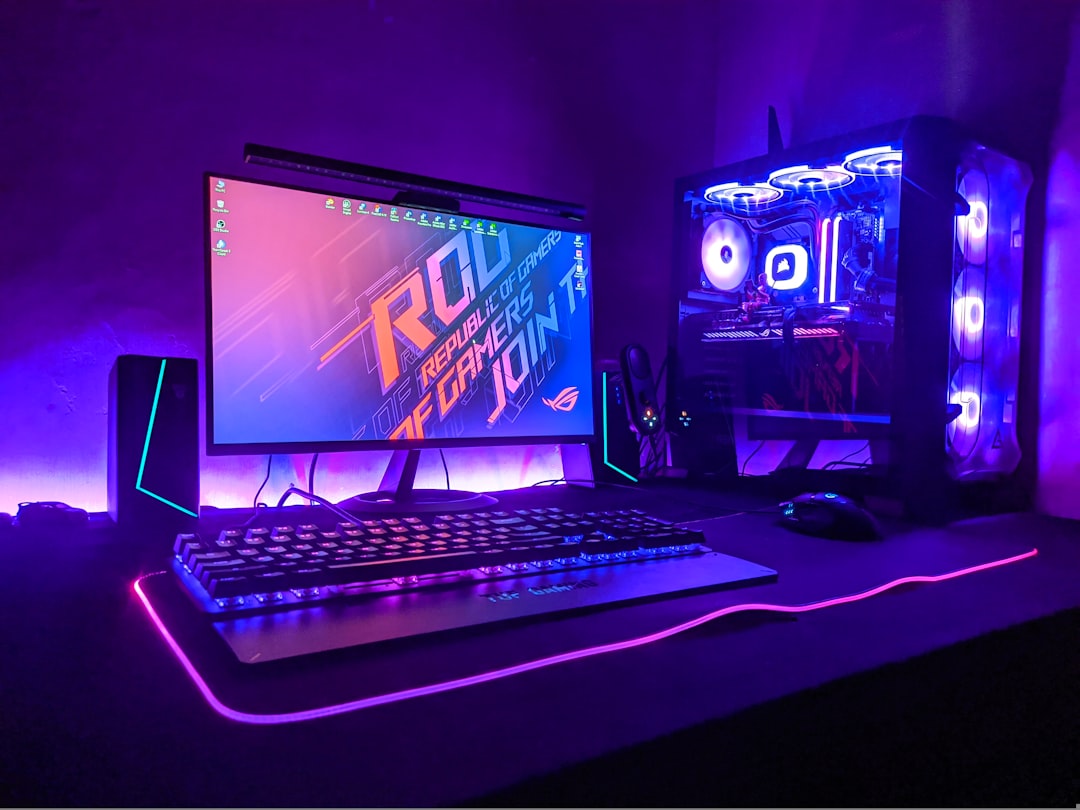
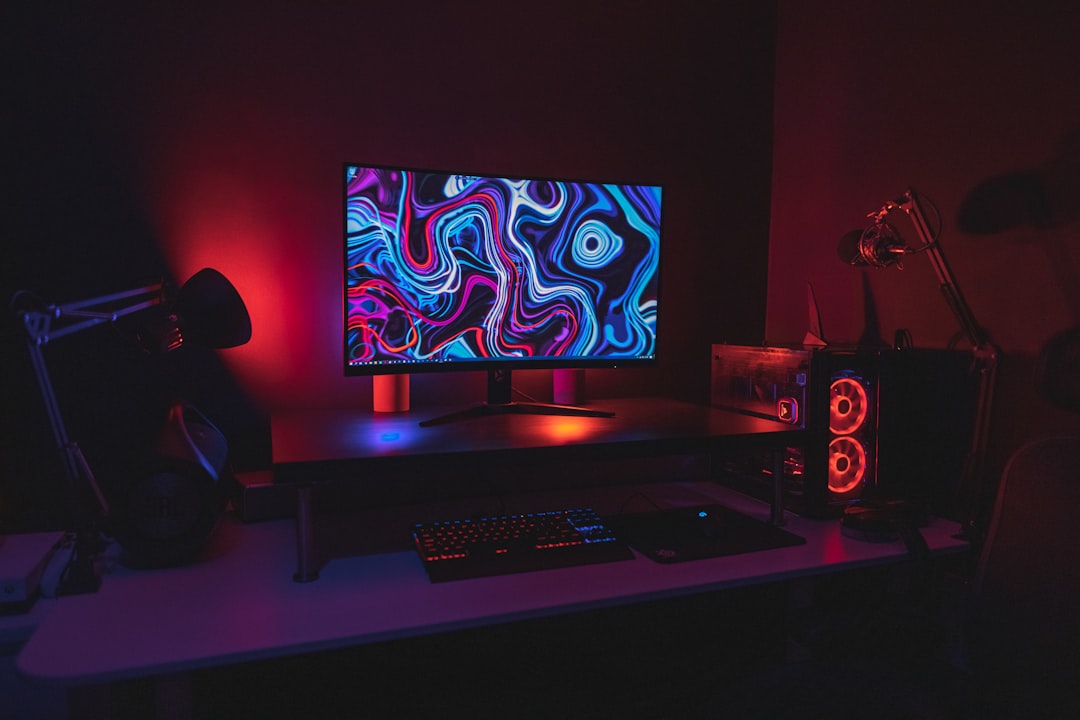
Customizing your keyboard lighting is more than just a cosmetic upgrade—it can enhance visibility, improve your gaming experience, and create a workspace that reflects your personal style. If you own an iBuyPower keyboard, you likely have access to RGB or LED lighting features that allow you to change colors, adjust brightness, and even create dynamic lighting effects. The exact steps may vary slightly depending on your keyboard model, but the overall process is straightforward once you understand your options.
TLDR: Changing iBuyPower keyboard colors can be done using built-in keyboard shortcuts or through dedicated software, depending on your model. Most models allow you to switch colors using the Fn key combined with specific function keys. For advanced customization like per-key RGB control, you’ll need to install and use the iBuyPower control software. Always check your keyboard model to ensure compatibility and access the correct features.
Understanding Your iBuyPower Keyboard Type
Before changing colors, it’s important to determine which type of iBuyPower keyboard you own. iBuyPower typically includes one of the following:
- Single-color LED keyboards – These allow one backlight color at a time.
- Multi-color LED keyboards – You can switch between several preset colors.
- RGB keyboards – These provide full-spectrum customization with advanced effects.
You can usually find your keyboard model number:
- On the bottom of the keyboard
- On the original packaging
- In your PC purchase documentation
- In Windows Device Manager
Knowing the model helps you determine whether you can use software customization or rely solely on keyboard shortcuts.
Method 1: Changing Colors Using Keyboard Shortcuts
Many iBuyPower keyboards allow you to change colors directly using built-in key combinations, without installing any software.
Step 1: Locate the Function (Fn) Key
The Fn key is typically located near the bottom-left corner of the keyboard. It works in combination with other keys to activate lighting adjustments.
Step 2: Identify the Lighting Control Keys
Look at your function row (F1–F12 keys). Many iBuyPower keyboards have small light icons printed on specific keys. Common combinations include:
- Fn + F9/F10 – Change lighting modes
- Fn + Arrow Keys – Adjust brightness or speed
- Fn + +/- – Increase or decrease brightness
Press the combination once and observe the effect. Keep tapping to cycle through available colors and animations.
Step 3: Adjust Brightness
If the lighting appears too dim or too bright, use the brightness controls (often Fn + Up/Down arrows).
Step 4: Turn Off Lighting (Optional)
If you want to disable the lights completely:
- Press the lighting toggle shortcut repeatedly until the lights turn off, or
- Use the brightness down key until lighting is fully dimmed.
This method works best for users who want quick changes without advanced customization.
Method 2: Changing Colors Using iBuyPower Software
If you have an RGB-compatible model, you can unlock deeper customization through software control.
Image not found in postmetaStep 1: Download the Official Software
Visit the official iBuyPower website and navigate to the Support or Drivers section. Locate your keyboard model and download the corresponding software.
Important: Installing the wrong software version may cause compatibility issues. Always match your exact model number.
Step 2: Install and Launch the Application
After downloading:
- Run the installer.
- Follow on-screen instructions.
- Restart your PC if prompted.
- Open the keyboard lighting software.
Step 3: Select a Lighting Mode
Inside the software interface, you will typically see options such as:
- Static Color
- Breathing Effect
- Color Cycle
- Wave Pattern
- Reactive Typing Mode
Click on a mode to preview the effect immediately on your keyboard.
Step 4: Customize Individual Keys (If Supported)
Advanced RGB keyboards allow per-key customization. This means you can assign different colors to individual keys.
To customize keys:
- Select the Custom or Per-Key option.
- Click on a key in the software interface.
- Choose a color from the RGB palette or color wheel.
- Apply changes.
This feature is especially useful for:
- Highlighting gaming controls (WASD keys)
- Color-coding productivity shortcuts
- Creating aesthetic lighting themes
Step 5: Save Your Profile
Most software allows you to create multiple lighting profiles.
You may create profiles for:
- Gaming
- Work
- Night use (lower brightness, warmer tones)
Click Save or Apply to ensure your preferences are stored.
Method 3: Using Third-Party RGB Software (If Compatible)
Some iBuyPower keyboards use standardized RGB controllers compatible with broader software platforms. However, compatibility depends on your manufacturer and chipset.
Caution: Only use reputable and compatible software. Installing unsupported RGB tools can cause lighting glitches or system instability.
If you’re unsure, it’s safest to stick with the official manufacturer software.
Troubleshooting Common Issues
If your keyboard lighting isn’t changing, here are common solutions:
1. Lighting Not Responding
- Ensure the keyboard is fully plugged in.
- Try a different USB port.
- Restart your computer.
2. Software Not Detecting Keyboard
- Confirm you installed the correct model software.
- Run the program as Administrator.
- Check Device Manager for driver issues.
3. Lighting Looks Dim
- Increase brightness via Fn shortcut.
- Disable power-saving USB settings in Windows.
4. Custom Profile Not Saving
- Click “Apply” before closing software.
- Ensure the software runs at startup.
- Check for available updates.
Best Practices for RGB Customization
While vibrant lighting can look impressive, moderation and intentional design improve usability.
Consider these tips:
- Use static colors for professional environments.
- Reduce brightness in dark rooms to prevent eye strain.
- Avoid overly fast animations during competitive gameplay.
- Create separate profiles for different scenarios.
Practicality should always complement aesthetics.
How to Reset Your Keyboard Lighting
If you want to return to default settings:
- Hold Fn + Esc (common reset combination), or
- Locate the reset option inside the lighting software.
If neither option works:
- Unplug the keyboard.
- Wait 30 seconds.
- Reconnect the device.
This often restores factory lighting presets.
Maintaining Your iBuyPower Keyboard
Lighting performance and visual clarity can decline if your keyboard accumulates dust or debris.
Follow these maintenance tips:
- Use compressed air to remove debris.
- Wipe keycaps gently with a microfiber cloth.
- Avoid liquid cleaners directly on the keyboard.
- Keep firmware and drivers updated.
Proper maintenance ensures consistent brightness and long-term functionality.
Final Thoughts
Changing the color of your iBuyPower keyboard is a simple but rewarding customization that enhances both appearance and usability. Whether you’re using quick function key shortcuts or advanced RGB software, the process requires only a few steps once you understand your keyboard model and available features.
For casual users, built-in shortcuts provide fast and convenient control. For enthusiasts and gamers, full RGB software delivers unmatched personalization, from static elegance to dynamic lighting animations. By following the steps outlined above—and applying careful customization—you can create a keyboard setup that is both visually striking and highly functional.
When handled properly, your iBuyPower keyboard lighting becomes more than just decoration. It becomes a tool that enhances focus, improves efficiency, and supports your specific workflow or gaming environment.