
Creating a logo and a matching website may seem like a daunting task, but with the right tools and techniques, you can effectively build both in just one afternoon. Whether you’re an entrepreneur launching a startup or a hobbyist developing a side project, taking the time to align your visual branding from the outset helps deliver a clear and professional message to your audience.
TLDR: You can design a logo and a clean, visually cohesive website in just a few hours using modern tools like Canva, Wix, or Webflow. Start with brainstorming your brand identity and visual tone, then build a simple logo around those ideas. Next, use a website builder with your new logo and consistent design elements to launch a homepage that reflects your brand. Focus on simplicity, alignment, and color harmony to achieve pro-level results in record time.
Step 1: Define Your Brand Identity
Before diving into design tools, it’s vital to understand what your brand stands for. Ask yourself the following questions:
- What is the purpose of your product or service?
- Who is your target audience? Are they young professionals, eco-conscious parents, or small business owners?
- What do you want people to feel when they interact with your brand – trust, excitement, calm?
By defining your brand characteristics early, you’ll be better equipped to make design decisions related to color, typography, and layout.
Tip: Write down five adjectives that describe your brand. These will be your visual compass throughout the design process.
Step 2: Design a Simple Yet Memorable Logo
A logo doesn’t need to be complex to be effective. Think of Dropbox or Spotify—simple shapes, bold typefaces, and one or two key colors.
Here’s how to create a professional logo, quickly and efficiently:
- Choose your design tool. Free tools like Canva, Looka, or Hatchful by Shopify let you create logos from templates tailored to your industry and tone.
- Select your layout: Start with a square or horizontal orientation—depending on where your primary use-case will be (e.g. social media versus website header).
- Pick your font: Use 1–2 clean fonts that reflect your values. Rounded sans-serif fonts are friendly, while serif fonts often communicate reliability and tradition.
- Choose colors: Stick with two or three complementary colors. Use tools like Coolors to explore palettes.
Once you’ve created your logo, export it in high-quality PNG and SVG formats. SVG files are crucial for maintaining resolution on retina displays and when scaling.
Pro Tip: Make a few color and layout variations (light, dark, icon-only) for different uses across platforms.
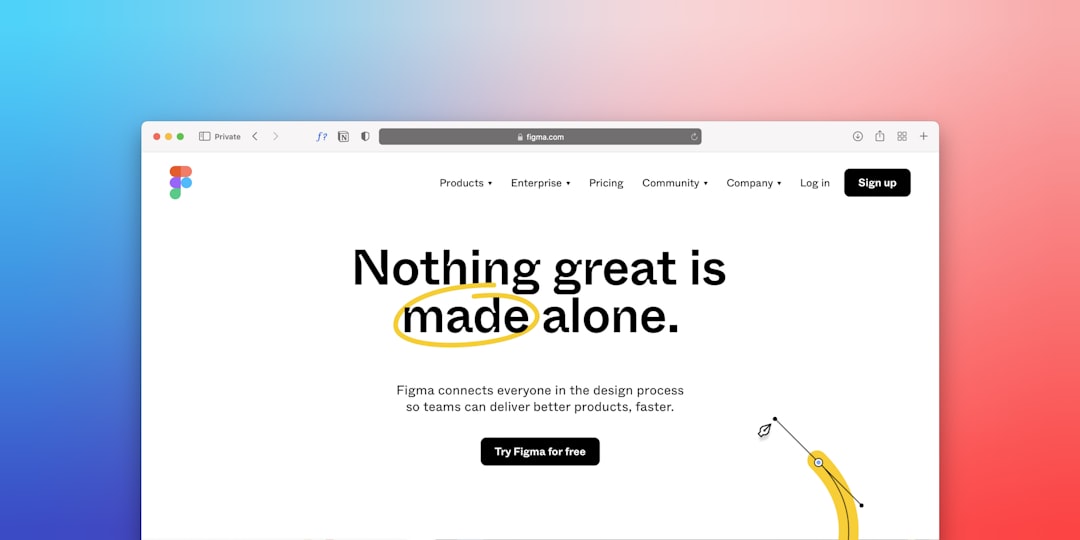
Step 3: Select a Website Platform
There are several beginner-friendly website builders that allow you to drag and drop your way to a clean, functional site. Some popular options include:
- Wix: Very intuitive and filled with industry-specific templates.
- Squarespace: Known for beautiful, modern templates, ideal for creatives.
- Webflow: Offers more granular control if you have some design experience.
- WordPress with Elementor: Flexible and widely supported, but takes slightly more time to set up.
Select a platform based on your comfort level and needs. For most users just starting out, Wix or Squarespace are ideal because they require no coding.
Step 4: Apply Your Branding to the Site
Now that you have your logo and a platform, it’s time to assemble the components. The key here is visual consistency:
- Use your logo colors for website elements like headers, buttons, and nav bars.
- Stick to 1–2 fonts across the site. This keeps everything unified and easy to read.
- Reuse shapes and design language from your logo whenever possible. For instance, if your logo has rounded edges, use rounded buttons and image frames.
- Set a consistent tone in your writing and navigation labels. Keep it warm, professional, or quirky—whatever suits your brand persona.
Don’t overcomplicate the structure. Stick to these basic pages:
- Home: Brief welcome message, logo, and key call-to-action.
- About: Your background, mission, and what sets you apart.
- Services or Products: Clearly state what you offer, with photos or icons.
- Contact: Include a simple form or clear email and phone number.
Step 5: Optimize for Speed and Mobile
Fast-loading, mobile-optimized websites rank better in search engines and offer a smoother user experience. Here’s how to ensure yours is performance-ready:
- Compress images: Use tools like TinyPNG to reduce file size without visible quality loss.
- Test mobile responsiveness: Most builders like Wix and Webflow let you switch to a mobile view for preview and adjustments.
- Minimize plugins: If you’re on WordPress, avoid loading too many third-party plugins, which can slow down your site.
Use this checklist before going live:
- Your logo looks sharp on desktop and mobile
- Your brand colors are used consistently across all elements
- Site navigation is intuitive and clutter-free
- Load time is under 3 seconds on most devices
Step 6: Publish and Start Sharing
With your logo and site now live, the next move is to make them visible:
- Claim your domain: Choose a custom domain name through the same platform or use a provider like Namecheap or GoDaddy.
- Set up your favicon: Upload a mini version of your logo as a browser tab icon—small details like this boost credibility.
- Enable SEO basics: Write page titles, meta descriptions, and alt text for all images.
- Connect social media accounts: Use your new logo across all platforms for a consistent visual brand.
Also consider creating a simple email footer with your new logo and link to your website. Every impression counts when establishing your brand.
Final Thoughts
It’s entirely possible—and even advisable—to launch quickly with a logo and website that reflect your core values and visual style. You can fine-tune later, but getting online early establishes your presence in the digital landscape and provides a functional hub for your audience. By focusing on clarity, consistency, and usability, you’ll stand out—without needing a design team or large budget.
Remember: Quality over complexity. A minimalist, well-aligned brand often makes a greater impact than a cluttered display of creativity. Start small, stay focused, and don’t be afraid to iterate as your business grows.