Install the Plugin
Before you can start using the WP Email Log plugin, you will have to install it on your site.
How to Install the Plugin?
- Go to your Dashboard and log in with your credentials
- Click on the “Download Plugin” menu item
- Open your WordPress site & log in with your admin account
- Navigate to Plugins > Add New
- Click the “Upload Plugin” button at the top of the screen
- Choose the file you have previously downloaded and click on the “Install Now” button
- Activate the plugin by clicking the “Activate” button
Activate the Plugin
After installing the WP Email Log plugin, you must activate it before you can access all features.
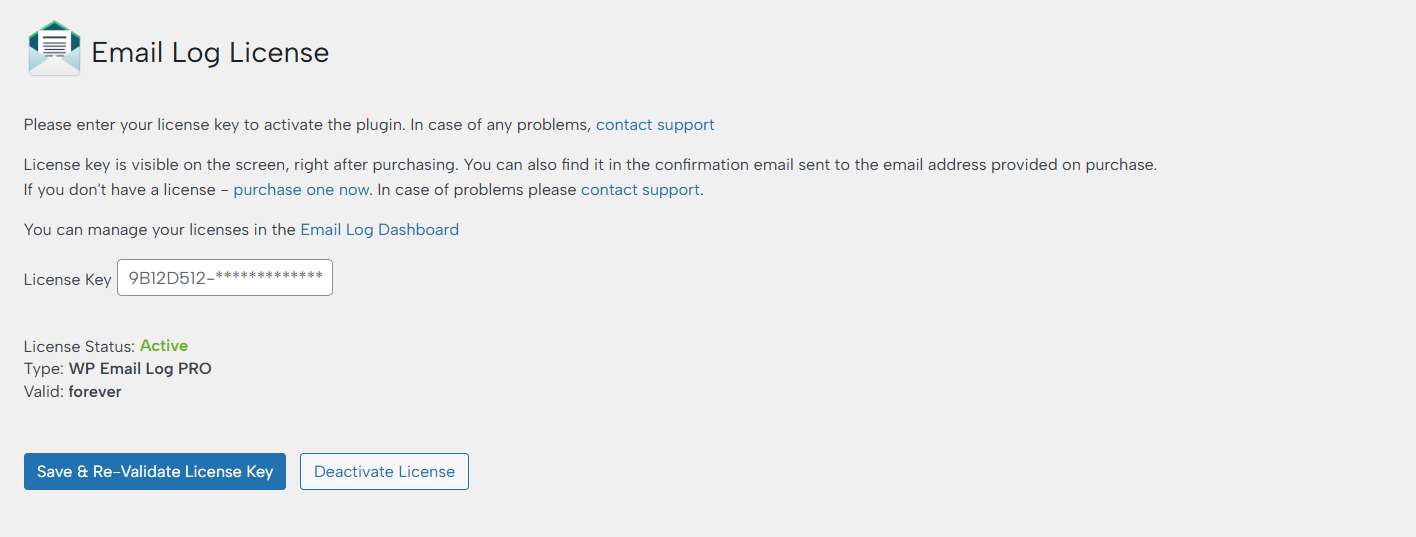
Activate by using the license key
- Go to your Dashboard and log in to your credentials
- Open “Licenses” from the left-hand side menu
- Choose a license from the list or create a new one
- Copy the license key
- Go back to your WordPress site and go to Settings > Email Log PRO
- Open the “License” tab
- Paste the license key and click on the “Save & Activate License” button
Activate without using the key
If you have created a Domain-type license key via the Dashboard, you will be able to activate the plugin without a key.
- Go to Settings > Email Log PRO
- Open the “License” tab
- Click on the “Keyless Activation” button to activate the plugin