The Rebranding feature allows you to customize the plugin’s name, logo, and identity across the WordPress dashboard to fit your needs. This is especially useful for agencies, developers, and freelancers who want to present the plugin as part of their own brand.
How to Use the Rebranding feature?
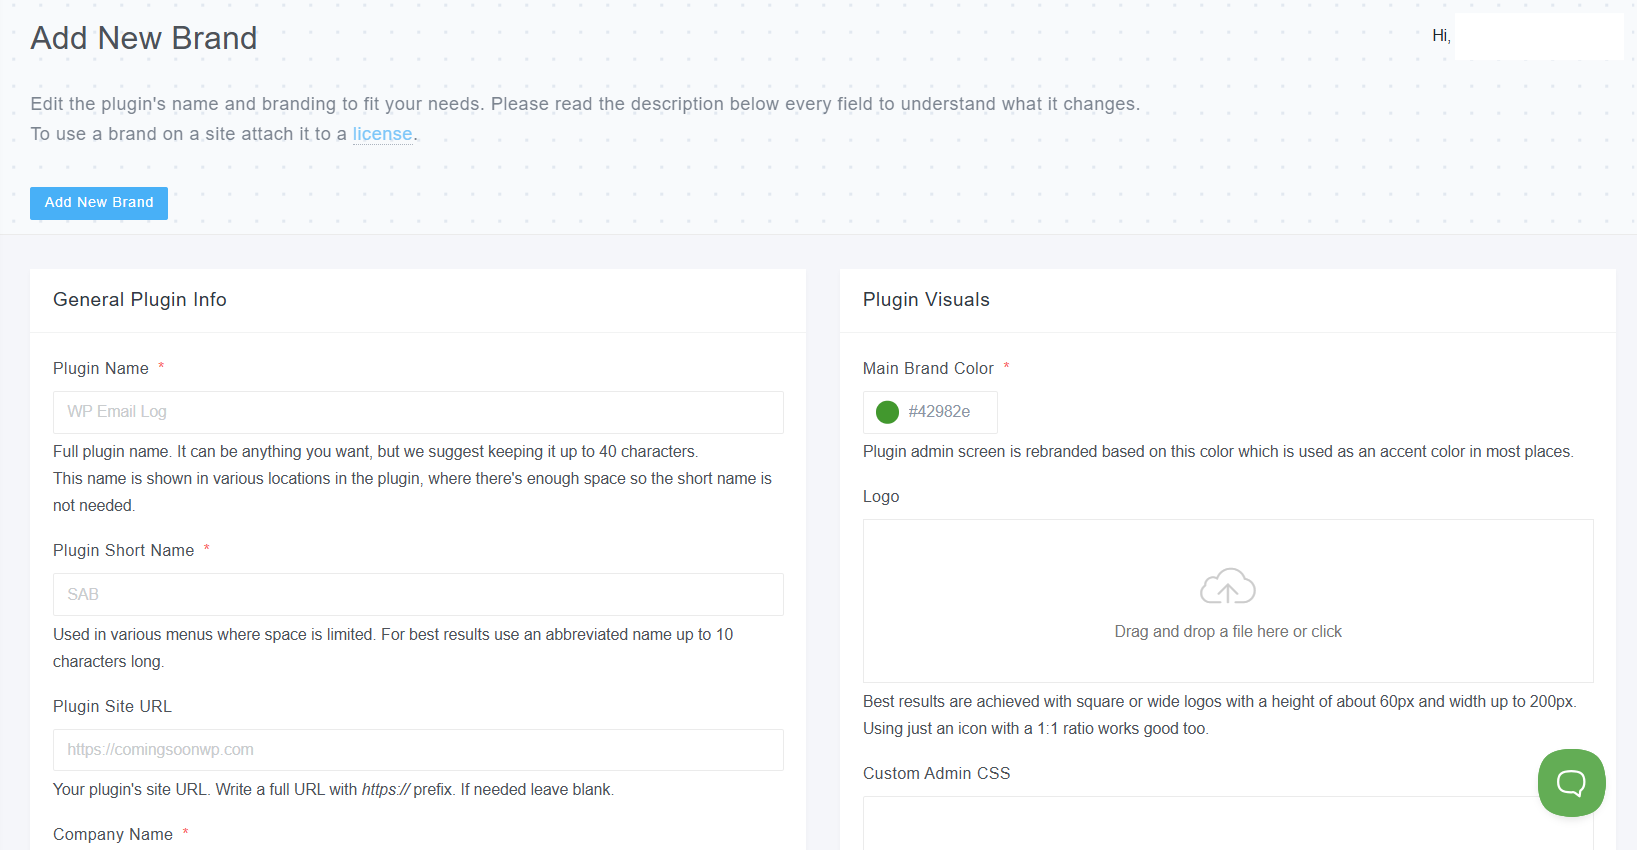
To use a brand on a site, you have to attach the brand to the license the site uses. If you’re making changes to an existing brand, then the license has to be re-synced. Either remotely or manually from the plugin.
What can you modify?
- Plugin’s name – It can be anything you want, but we suggest keeping it up to 40 characters. This name is shown in various locations in the plugin, where there’s enough space so the short name is not needed.
- Plugin’s short name – Used in various menus where space is limited. For best results, use an abbreviated name up to 10 characters long.
- Plugin Site URL – Your plugin’s site URL. Write a full URL with https:// prefix. If needed, leave blank.
- Company Name – Your company’s name. It’s shown in various places in the plugin. Keep it up to 30 characters long.
- Company Site URL – Your company’s website URL. Write a full URL with https:// prefix. If needed, leave blank.
- Main Brand Colour – You can choose the desired colour of the plugin’s interface with the built-in colour picker.
- Logo – Upload your desired logo that will replace the WP Email Logo default logo. Best results are achieved with square or wide logos with a height of about 60px and a width up to 200px. Using just an icon with a 1:1 ratio works well too.
- Custom Admin CSS – This feature is for advanced adjustments to the look and feel of the plugin admin interface. Do not include any <style> tags.
- Content – You can add custom text that is shown in the plugin’s support tab. It’s a great place to write about your services and put links to various resources, such as videos and FAQs.
- Footer Copyright – Displayed in the plugin admin screen’s footer, on the right-hand side. For best results, keep it under 50 characters.