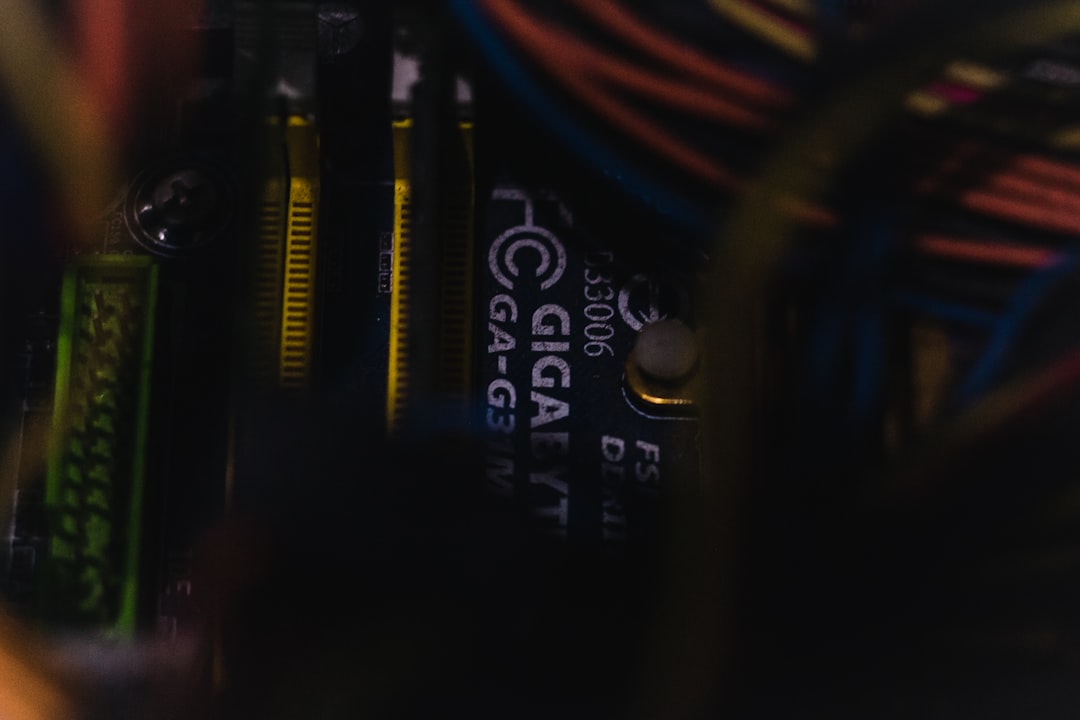
The Gigabyte GA-Z77X-UD5H motherboard is still a reliable workhorse for many PC enthusiasts and gamers running older yet capable systems. However, one common issue reported by users is the motherboard not detecting a PCIe graphics card (GPU). This can be frustrating, especially if you’re preparing your setup for gaming, creative work, or general performance upgrades. Fortunately, there are several troubleshooting methods to resolve this challenge.
In this article, we’ll guide you through a comprehensive checklist to help you identify and fix situations where the GA-Z77X-UD5H fails to detect a PCIe GPU. Whether you’re installing a brand-new GPU or replacing an old one, this guide ensures you’re not missing a critical step.
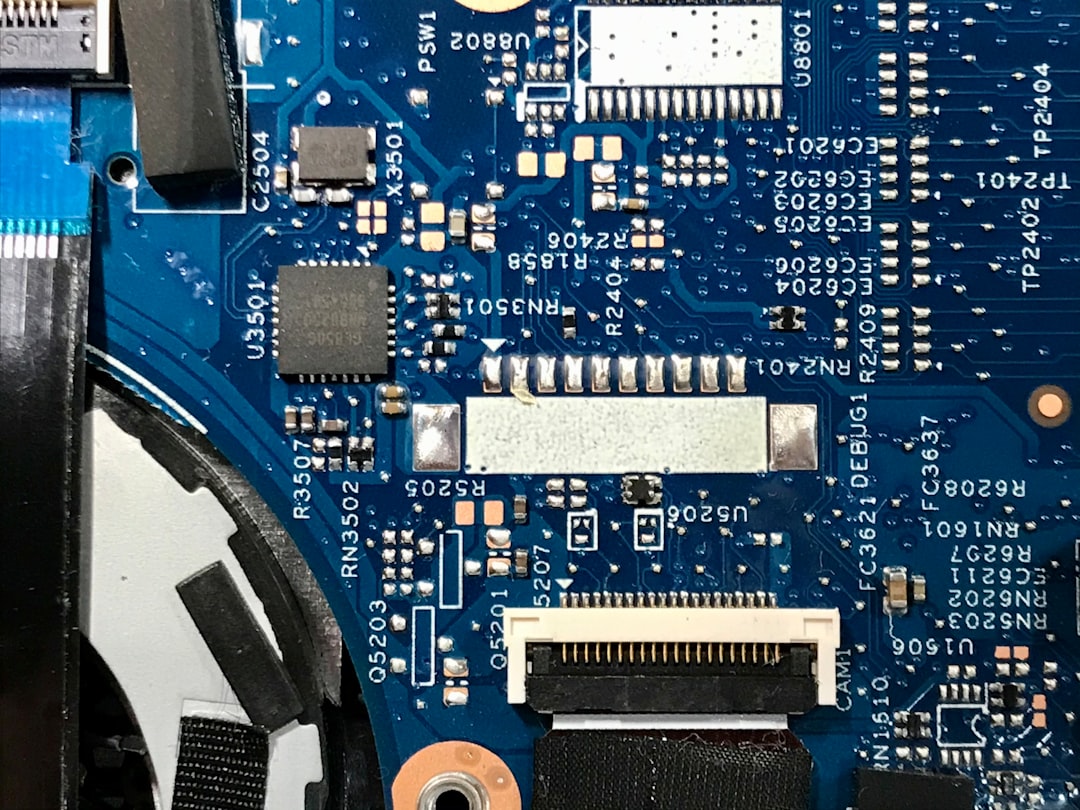
1. Preliminary Hardware Inspection
Before diving into BIOS settings or driver updates, it’s essential to perform a basic hardware check.
- Turn off your system completely and unplug the power cord.
- Reseat the graphics card: Remove it from the PCIe slot and firmly seat it back in.
- Check the PCIe slot cleanliness: Dust and debris can block contacts. Use compressed air to clean the slot.
- Inspect the GPU: Make sure there is no physical damage on the PCB, connector, or cooling fans.
- Verify the PCIe power connectors: Ensure the GPU is getting power from the PSU via 6/8-pin connectors.
If all looks physically fine yet the screen remains black with the GPU installed, continue to the next steps.
2. Test with Alternate Components
This step helps determine whether the issue lies with the GPU or the motherboard.
- Test the GPU in another compatible system. If it works, the problem is not the card.
- Try another working graphics card in your GA-Z77X-UD5H. If that card is not detected either, the issue is motherboard-related.
- Try a different PCIe slot. The GA-Z77X-UD5H provides multiple PCIe slots. Use the lower PCIe x16 slot to rule out a faulty slot.
This stage helps to isolate the problem to either the GPU hardware or your motherboard’s PCIe functionality.
3. BIOS Settings and Update
The motherboard’s BIOS plays a vital role in hardware detection. Incorrect settings or outdated firmware can lead to detection problems.
Reset BIOS to Default:
- Turn off the PC and power down completely.
- Use a jumper on the CLR_CMOS pins or remove the CMOS battery for 10–15 minutes.
- Reboot the system and access BIOS (press DEL on boot repeatedly).
- Load optimized settings and save changes.
Check Initial Display Output:
- Navigate to BIOS > Peripherals and look for “Init Display First.”
- Ensure it’s set to PEG (PCI-Express Graphics) instead of IGFX or Auto.
Update the BIOS: The GA-Z77X-UD5H firmware may need updating to improve PCIe compatibility, especially for newer GPUs.
- Download the latest BIOS version from Gigabyte’s official site.
- Use the Q-Flash utility built into Gigabyte BIOS to perform the update.
- Be cautious – BIOS updates carry risks. Ensure you follow official instructions carefully and use a USB drive formatted in FAT32.
4. Power Supply Check
Your power supply may lack adequate wattage or may have faulty connectors that prevent proper GPU detection.
- Confirm PSU wattage: Ensure it meets the GPU’s minimum power requirements (check GPU model specifications).
- Use separate PCIe cables: For GPUs needing multiple connectors, use one cable per connection instead of daisy-chaining.
- Try a known working PSU: Swapping with another reliable PSU can rule out power issues quickly.
5. Integrated Graphics Interference
The GA-Z77X-UD5H includes an onboard Intel HD Graphics chipset. Sometimes, the system defaults to this instead of your discrete GPU, especially after BIOS reset or in hybrid graphics modes.
To override this behavior:
- Connect the monitor to the GPU directly, not the motherboard’s video output.
- Enter BIOS and change the primary display setting to PEG.
- Disable the integrated graphics in BIOS if the GPU is meant to be the sole graphics solution.
6. Operating System and Drivers
In rare cases, the motherboard might detect the GPU, but the operating system fails to. This usually happens after driver updates or OS reinstalls.
- Enter Device Manager in Windows (Press Win + X, then choose Device Manager).
- Look for “Display adapters.” If the GPU appears but shows an exclamation mark, there’s a driver issue.
- Download the latest drivers from the GPU manufacturer (e.g., NVIDIA or AMD).
- Use a clean installation option to ensure conflicting drivers are removed.
Also, make sure your operating system is up to date. Sometimes, older OS builds can misread or fail to support newer GPU device IDs.
7. PCIe Lane Configuration
If your CPU or other connected devices are influencing PCIe lane allocation, your GPU might receive limited or no bandwidth. This is rare but has been reported with certain configurations.
Review the specifications of your CPU and motherboard PCI lane distribution. Try unplugging non-essential PCIe cards or M.2 adapters that could be conflicting.
8. Physical Damage or Defect
After exhausting all the above methods, consider the possibility of a defective motherboard or GPU. Years of use, static damage, or manufacturing defects can all lead to detection issues.
- Look at the PCIe pins on the motherboard. Bent or missing pins are a red flag.
- Inspect capacitors near the PCIe slot—bulging or leaking capacitors suggest failure.
- Try bench testing: Route your hardware outside the case on a non-conductive surface to confirm there are no grounding or case-related issues.
Conclusion
When a PCIe GPU isn’t detected by the GA-Z77X-UD5H motherboard, it can feel like chasing a ghost in your machine. However, with a methodical approach—from checking physical connections and BIOS settings to testing different hardware components—you can usually pinpoint the issue. BIOS configurations, particularly the Init Display First setting and PCIe slot behavior, are often the main culprits.
If all else fails, don’t hesitate to contact Gigabyte support or seek advice on tech forums with detailed descriptions of what you’ve tried. Each system configuration is unique, but armed with this checklist, you’re far more equipped to isolate and resolve the problem with confidence.