
Customizing your WordPress website just got easier with the Widget Options plugin. Whether you’re a seasoned developer or a beginner aiming to fine-tune your website’s widget behavior without touching a single line of code, this plugin offers a user-friendly and flexible interface. In this tutorial, we will guide you step by step through the process of installing, configuring, and maximizing the Widget Options plugin to improve your site’s performance and design.
What is the Widget Options Plugin?
Widget Options is a popular WordPress plugin that enables advanced control over widgets. From visibility based on device type to user role management, it offers features far beyond what WordPress supports by default. With over 100,000 active installations, it’s trusted by bloggers, developers, and agencies alike.
Step 1: Installing the Plugin
To get started, you need to first install the Widget Options plugin on your WordPress site. Here’s how:
- Log in to your WordPress admin dashboard.
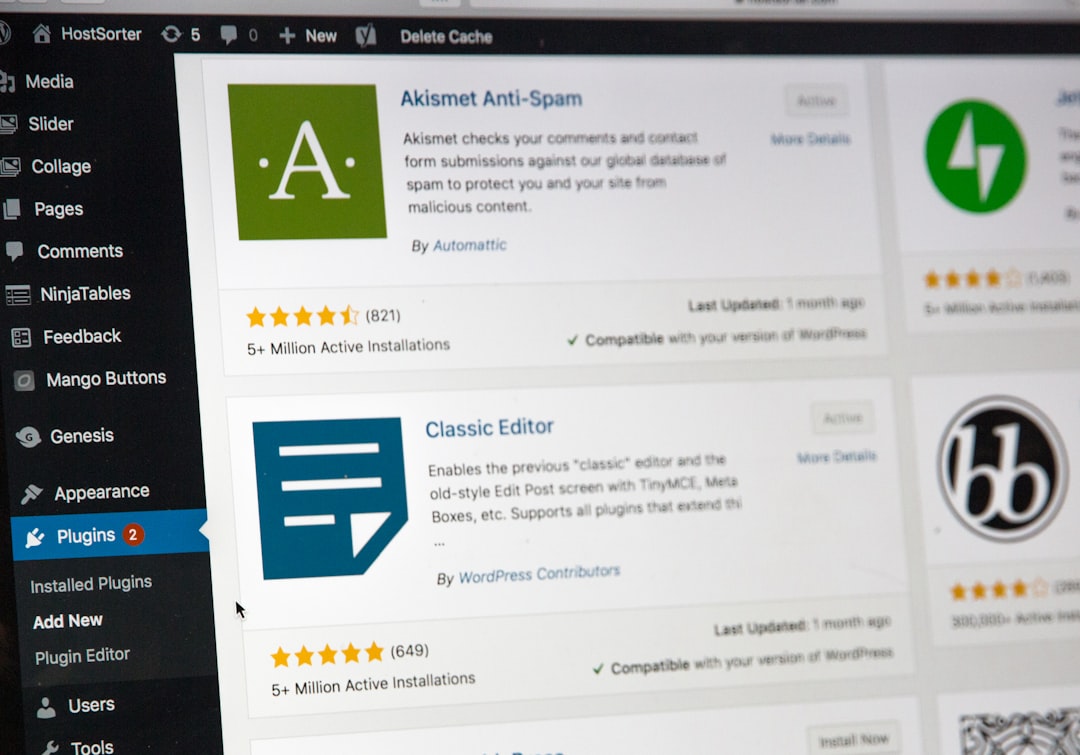
- Navigate to Plugins > Add New.
- In the search bar, type Widget Options.
- Look for the plugin developed by PHPBits Creative Studio.
- Click Install Now, then click Activate.
Once installed, the plugin begins to enhance your existing widgets immediately with new options that appear everywhere you add or edit widgets.
Step 2: Understanding the Widget Options Interface
Now that the plugin is activated, head over to the Widgets screen via Appearance > Widgets. Click to edit any widget, and you’ll see additional panels and tabs available.
Here are some new functionalities you’ll notice under each widget:
- Visibility Control – Display widgets on specific pages or sections.
- Device Restriction – Choose whether a widget appears on mobile, tablet, or desktop.
- Custom Alignment & Styling – Add extra classes or tweak alignment per device.
- User Role Visibility – Show or hide widgets for specific WordPress user roles.
- Date & Time Scheduling – Schedule widgets to appear or disappear on set dates.
Step 3: Defining Widget Visibility By Page
This feature allows you to display widgets on selected pages or exclude them from others. Here’s how to configure it:
- Open the widget you want to configure.
- Find the Visibility tab beneath the widget content area.
- Switch the toggle to On.
- Use the dropdowns to select Show or Hide and add pages or posts as needed.
This proves extremely useful when you want a banner to appear only on the homepage or a particular sign-up form only on your blog posts.
Step 4: Setting Device Restriction
You may want to show certain widgets only on desktops or hide them on mobile devices to provide a more optimized, responsive experience.
- In the widget settings, find the Devices tab.
- Choose which devices the widget should appear on: Desktop, Tablet, Mobile.
- You can preview the layout by switching to responsive mode in the WordPress Customizer.
This method is especially effective for widgets that contain heavy graphics or elements not suitable for smaller screens.
Step 5: Customize Widget Alignment and Styling
The Widget Options plugin offers a straightforward approach to styling widgets with extra custom classes or adjusting their alignment.
- Click the Design tab within your chosen widget’s settings.
- Choose alignment options for different devices: Left, Center, Right.
- Insert any extra CSS classes you wish to use for more advanced styling.
Combining this with your theme’s existing styles can add a polished, tailored look to your widgets without modifying theme files.
Step 6: Control Widgets With User Role Restrictions
This option gives you complete control over who sees specific widgets based on their role on your website.
- Find the User Roles tab in the widget configuration area.
- Check the boxes for which user roles (e.g., Admin, Editor, Subscriber) should see the widget.
- This ensures personalized or restricted content is not shown to unintended audiences.
This feature is perfect for membership websites or community portals that deliver different widget content to different categories of users.
Step 7: Date and Time Scheduling
Sometimes, you may want to show a widget only temporarily, such as for a promotion or announcement. Widget Options allows you to schedule this easily:
- Navigate to the Schedule tab.
- Enable the schedule toggle.
- Set the Start Date and End Date with time if needed.
Once the dates are entered, the widget will automatically show or hide according to your setup—no manual intervention required!
Bonus Tips for Power Users
Here are a few additional tips to help you make the most out of the Widget Options plugin:
- Debugging Mode: Turn this on to see which widget configurations are active. This helps with troubleshooting visibility or styling issues.
- Multisite Compatibility: Widget Options works well even on WordPress multisite installations.
- Integration with Page Builders: Works seamlessly with Elementor, Beaver Builder, and WPBakery, giving users extended flexibility.
Final Thoughts
The Widget Options plugin is a game-changer when it comes to controlling and customizing widgets in WordPress. By offering advanced control over visibility, styling, scheduling, and user-targeting — all from a simple interface — it unlocks a powerful range of design and organizational capabilities without requiring coding expertise.
Especially for growing websites with specific needs per device and user role, this plugin can help streamline the user experience and improve presentation drastically.
Now that you’ve walked through this tutorial step by step, from installation to custom features, you’re ready to fully harness Widget Options and experience a higher level of widget control on your site.
So go ahead, try out different settings, experiment with display options, and watch your WordPress site evolve with finely tuned widgets that act just the way you need them to.