Switching to an eSIM might sound technical. It is not. In fact, it can be faster than making coffee. No tiny plastic card. No paperclip tool. No fumbling with SIM trays. Just a few taps on your screen and you are connected.
TLDR: Activating an eSIM is simple and fast. First, make sure your phone supports eSIM and is unlocked. Then get an eSIM plan from a carrier and scan a QR code or enter details manually. Follow the on-screen steps, restart if needed, and you are ready to go.
Let’s walk through it step by step. We will keep it simple. And maybe even a little fun.
What Is an eSIM?
An eSIM is a digital SIM card. The “e” stands for embedded. It lives inside your phone. You cannot remove it. You cannot lose it under the couch.
Instead of inserting a physical card, you download your mobile plan directly to your device. Think of it like downloading an app. But for your cellular network.
Cool, right?
Here’s why people love eSIM:
- No physical SIM card needed
- Easy to switch carriers
- Great for travel
- Use two numbers on one phone (on supported devices)
Step 1: Check If Your Phone Supports eSIM
Before anything else, check compatibility. Not all phones support eSIM. Most modern smartphones do. But it is always smart to confirm.
On iPhone:
- Go to Settings
- Tap General
- Tap About
- Look for Available SIM or Digital SIM
On Android:
- Go to Settings
- Tap Connections or Network & Internet
- Look for SIM Manager or Mobile Network
- Check if you see an option to Add eSIM
If you see those options, you are good to go.
Also make sure your phone is unlocked. If it is locked to one carrier, you may not be able to use another provider’s eSIM.
Step 2: Choose an eSIM Plan
You need a carrier or provider that offers eSIM service. This can be your current mobile company. Or a new one. Many global providers also offer travel eSIM plans.
When you buy an eSIM plan, you usually get one of the following:
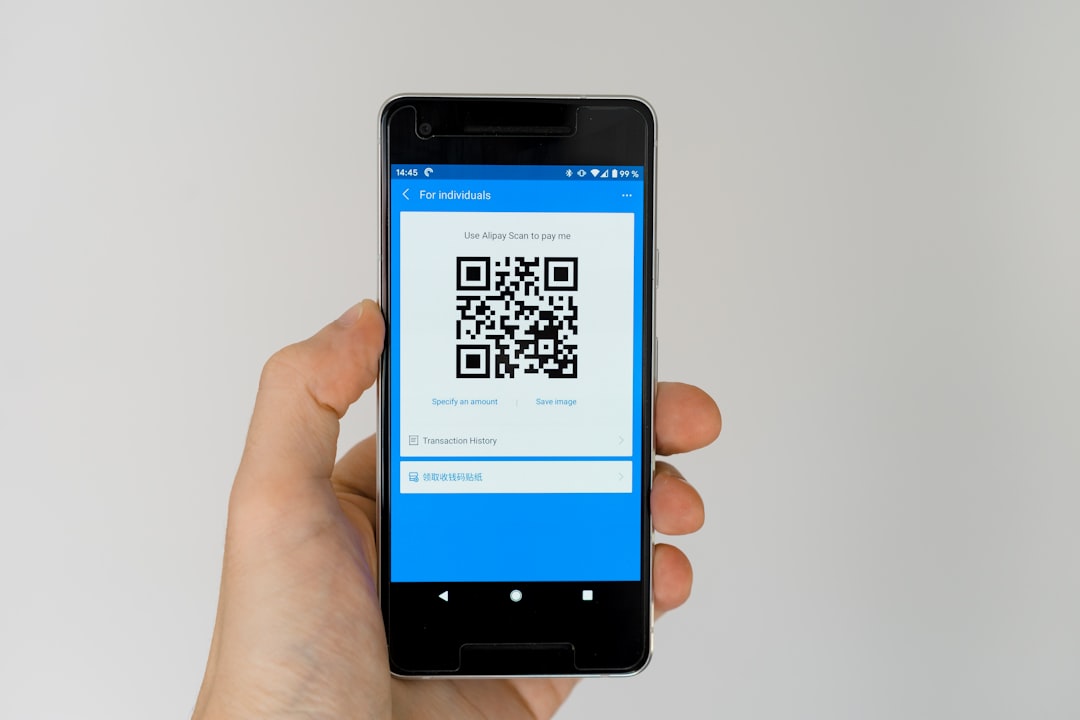
- A QR code (most common)
- A confirmation email with activation steps
- Manual activation details (SM-DP+ address and activation code)
Keep this information safe. You will need it in the next step.
Step 3: Connect to Wi-Fi
This step is often forgotten. Do not skip it.
You need an internet connection to download your eSIM profile. So connect to Wi-Fi before starting the activation process.
No Wi-Fi? Borrow some. Ask a friend. Use a café. This part only takes a few minutes.
Step 4: Add the eSIM to Your Phone
Now the magic happens.
On iPhone
- Open Settings
- Tap Cellular or Mobile Data
- Tap Add eSIM
- Select Use QR Code
- Scan the QR code from your carrier
If you do not have a QR code, tap Enter Details Manually and type in the information provided.
On Android
- Open Settings
- Tap Connections or Network & Internet
- Select SIM Manager or Mobile Network
- Tap Add eSIM
- Scan the QR code
Again, if no QR code is available, choose the manual setup option and enter the details.
After scanning, your phone will start downloading the eSIM profile. This can take a minute or two. Be patient. Do not close the settings screen.
Step 5: Confirm and Label Your Plan
Once the eSIM is installed, your phone may ask you to:
- Label the plan (e.g., Work, Travel, Personal)
- Choose a default line for calls
- Select a line for mobile data
This is especially helpful if you use Dual SIM. You can keep your main number active and use the eSIM for data. Or the other way around.
Take a moment to choose the right settings. You can always change them later.
Step 6: Restart Your Phone (If Needed)
Sometimes activation completes instantly. Sometimes your phone will suggest a restart.
If it does, restart it.
A restart helps your device fully connect to the carrier network. It is quick. And it often solves small connection issues.
Step 7: Test Your Connection
Now it is time for the fun part.
Turn off Wi-Fi and check if mobile data works. Try:
- Opening a website
- Sending a text message
- Making a call
If everything works, congratulations. You just activated your eSIM.
You are officially living in the future.

Common Problems and Quick Fixes
Sometimes things do not go perfectly. That is okay. Here are a few simple fixes.
Problem: QR code will not scan
- Increase screen brightness
- Clean your camera lens
- Hold the phone steady
- Enter details manually instead
Problem: No signal after activation
- Restart your phone
- Check that the eSIM line is turned on in settings
- Make sure mobile data is assigned to the correct SIM
Problem: “Carrier not supported” message
- Confirm your device is unlocked
- Contact the carrier for help
Most issues are solved in minutes.
Using eSIM While Traveling
This is where eSIM shines.
Imagine landing in a new country. No searching for SIM cards. No language confusion at kiosks. You simply scan a QR code you bought online. Done.
For travel:
- Buy your eSIM plan before your trip
- Install it when you land
- Switch data to the travel eSIM
- Keep your home SIM for calls if needed
It is simple. It saves time. And often money too.
Can You Remove an eSIM?
Yes, you can.
If you no longer need the plan:
On iPhone:
- Go to Settings
- Tap Cellular
- Select the eSIM plan
- Tap Delete eSIM
On Android:
- Go to Settings
- Open SIM Manager
- Select the eSIM
- Tap Remove
Remember: deleting the eSIM removes the plan from your phone. You may need a new QR code if you want to reinstall it later.
Is eSIM Safe?
Yes. Very safe.
In some ways, it is safer than a physical SIM. No one can remove it from your phone without unlocking the device. It also reduces the risk of SIM swapping scams when proper security measures are in place.
Always:
- Buy eSIM plans from trusted providers
- Do not share your QR code publicly
- Use a secure Wi-Fi connection during setup
Final Thoughts
Activating an eSIM may sound complicated at first. But it is really just a series of small steps.
Check compatibility. Choose a plan. Scan a QR code. Confirm settings. Test the connection.
That is it.
No plastic. No tools. No stress.
Once you try it, you may never want to go back to physical SIM cards again. eSIM is fast. Flexible. Travel-friendly. And built for the way we use phones today.
So go ahead. Tap into the future. Your phone is ready.