You’ve just designed a gorgeous new logo. It’s sleek, unique, and ready to take over the world! But before you rush off to print it on business cards, banners, or T-shirts, let’s take a pause. Exporting your logo the right way is as important as designing it! Why? Because a poorly exported logo can ruin your brand presentation. Yikes!
TL;DR
Exporting your logo correctly makes all the difference in how it looks on paper or product. Learn about CMYK for full-color printing, spot colors for color accuracy, and foil stamping for extra glam. Get your files set up right, and avoid printing disasters. Scroll down to see what you need to know!
What is CMYK?
Let’s start with the basics. CMYK stands for:
- Cyan
- Magenta
- Yellow
- K (Black)
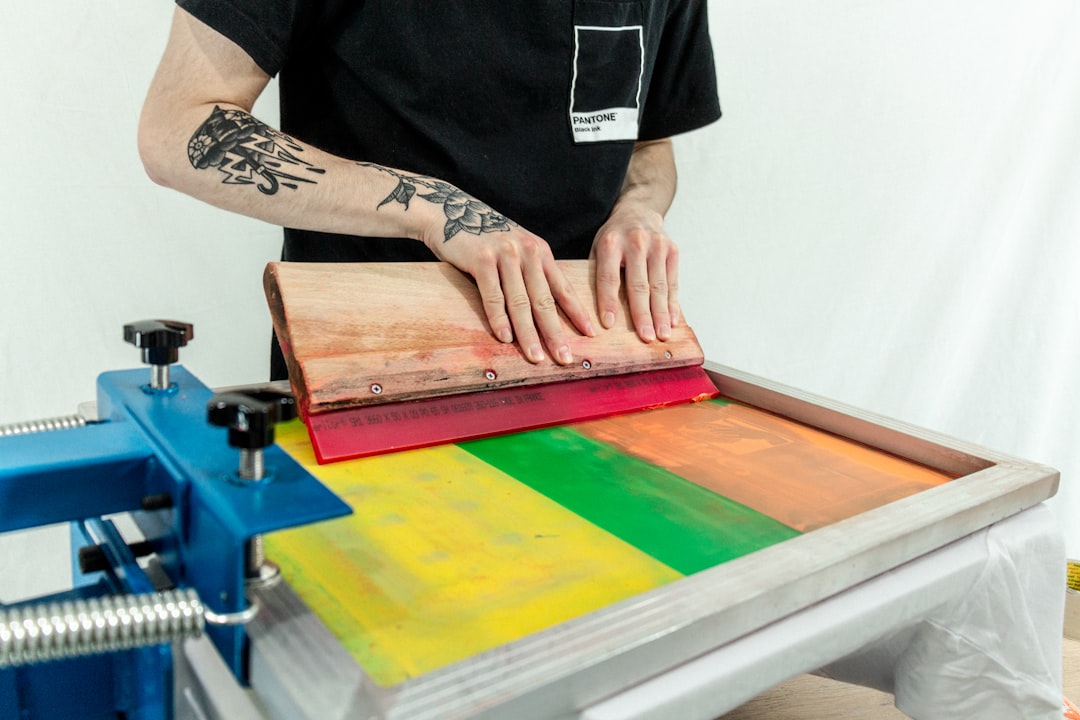
This is the color model used for printing. If your logo is going on a brochure, business card, or billboard, this matters a lot!
CMYK works by layering these four colors to create full-color designs. It’s different from RGB, which is for screens only. If you send an RGB logo to a printer, the colors may come out weird… like neon orange turning into bronze. Not fun.
Tip: Always export your logo in CMYK format for print projects.
Why RGB Doesn’t Work for Print
RGB (Red, Green, Blue) is what your computer and phone screens love. It’s bright, bold, and full of light.
But printers don’t work with light. They work with ink. That’s why RGB files can look super off when printed. A glowing teal from your screen might become a sad, dull blue in print.
So, when exporting your logo for business cards or packaging:
- Don’t just send the RGB file.
- Do create a proper CMYK version instead.
What Are Spot Colors?
Spot colors are pre-mixed inks used to ensure exact color matching in print. They’re super helpful when you need brand consistency.
Let’s say your logo has a very specific red. With CMYK, every printer might produce a slightly different version of that red. But with a spot color, like a Pantone color, you’ll get the exact same red every time.
Benefits of Spot Colors:
- Perfect Color Match – especially useful for logos.
- Consistency – across all printed items.
- Better Quality – for detailed artwork or limited color designs.
However, they’re not ideal for full-color photos or designs with lots of gradients. That’s CMYK territory.
Pro tip: When creating your logo, consider how it looks in both CMYK and Spot Color to ensure flexibility.
What About Foil Stamping?
Now let’s get a little fancy. Want your logo to shine—literally? Enter foil stamping!
Foil stamping is a print finishing process where a thin layer of metallic foil is pressed onto your design. It’s perfect for adding sparkle or elegance.
You’ve probably seen it on high-end business cards, wedding invites, and luxe packaging.
Popular Foil Colors:
- Gold
- Silver
- Rose Gold
- Holographic
But wait—don’t just slap it on! Foil stamping requires its own special design layer during export.
Preparing A Foil Stamping File
To foil your logo, you need to provide a special version of your design.
Here’s how:
- Create a separate layer for the foil elements.
- Change everything on that layer to 100% black.
- Label the layer “Foil” so the printer knows what’s what.
- Save your artwork as a vector file, like PDF or AI.
This way, the printer can apply the metallic foil exactly where you want it.
Important: Fine lines and tiny text might not foil well. So keep it bold and simple!
Bonus Know-How: Vector vs Raster
Before we wrap up, let’s touch on file types. You want to send your logo in vector format, not raster.
Vector Files: AI, EPS, PDF, SVG
Raster Files: JPG, PNG, TIFF
Vector files don’t lose quality when resized. That means your logo will look crisp on everything—from a pen to a billboard.
Raster files can get blurry or pixelated. Not ideal for printing!
Exporting Checklist
Let’s bring it all together with a handy export checklist. When you’re ready to send your logo to a printer, make sure you’ve got:
- CMYK Version – for standard full-color printing
- Spot Color Version – for perfect color matching
- Foil Layer Version – for special metallic effects
- Vector File Format – for scalability and sharp results
Optional good-to-have:
- Black and white version – for faxes, stamps, and simple print jobs
- RGB version – for social media and websites
Working With a Printer
Great! You’ve got all your versions exported. Now what?
Send your files to the printer, but don’t forget to:
- Specify which version is for what
- Let them know about any special finishes (like foil)
- Ask for a proof before full production
A proof is a sample print. It lets you catch any issues before printing 10,000 flyers with a purple logo that was supposed to be red!
Final Thoughts
Your logo is more than art. It’s your brand’s handshake. So make sure it shows up at its best every time it’s printed.
Understanding CMYK, spot colors, and foil stamping will set you apart from designers who just click “export” and hope for the best.
Be the designer who knows what they’re doing!
Now it’s your turn:
- Go back and check your logo files
- Make sure you’ve got the right exports ready
- Talk confidently with your printer
- And maybe, just maybe, add some dazzling foil ✨
Happy exporting!