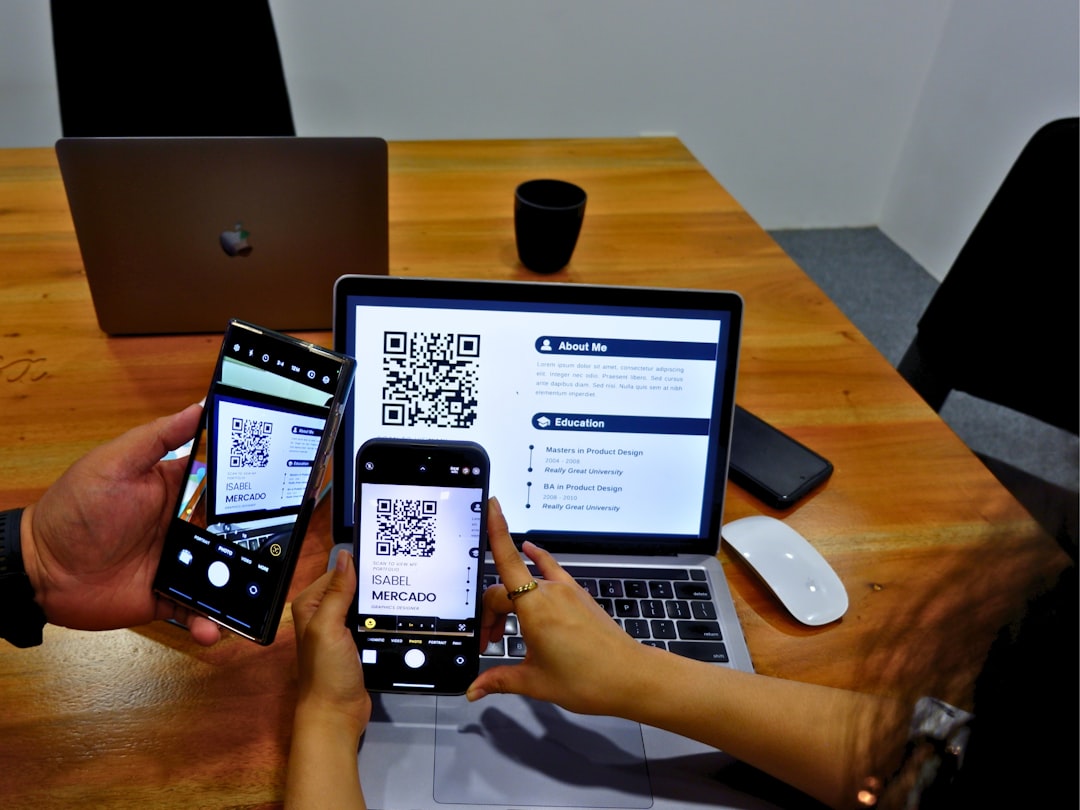
In today’s digital world, securing personal information is paramount. One of the most effective ways to enhance the security of an email account is by enabling two-factor authentication (2FA). This method adds an extra layer of protection by requiring not only a password but also a second piece of information—a verification code, biometric confirmation, or a hardware token. This ensures that even if a hacker obtains a user’s password, the account remains secure.
Implementing two-factor authentication might seem intimidating at first, but with the right steps, anyone can do it. Here’s a step-by-step guide on how to add 2FA to popular email accounts and why it’s essential for cybersecurity.
What Is Two-Factor Authentication?
Two-factor authentication requires users to verify their identity using two methods: something they know (like a password) and something they have (like a smartphone app or a hardware key). This extra layer of security significantly reduces the risk of unauthorized access.
Common second-factor methods include:
- Authentication apps (like Google Authenticator or Authy)
- SMS-based codes
- Email-based codes
- Physical security keys (like Yubikeys)
- Biometric verification (such as fingerprint or facial recognition)
Why 2FA Is Crucial for Email Accounts
Email accounts are gateways to many other services. Reset emails and sensitive personal information are often stored in inboxes. If a malicious actor gains control of your email, they can potentially access bank accounts, cloud storage, or even social media. Implementing 2FA can significantly mitigate these risks.

How to Set Up Two-Factor Authentication for Popular Email Providers
The process can vary slightly by provider, but the concept remains the same. Here’s how to enable 2FA on some of the most widely used email platforms.
1. Gmail (Google)
- Log into your Google Account.
- Navigate to Security on the left menu.
- Find the section labeled “Signing in to Google” and click on “2-Step Verification.”
- Follow the on-screen steps. Google will prompt you to confirm your password first.
- Choose your verification method, such as text message, Google Prompt, or Authenticator App.
Bonus: Google allows using backup codes and gives options for fallback methods such as a secondary phone number.
2. Outlook (Microsoft)
- Go to your Microsoft Account Security page.
- Click on “Advanced security options.”
- Under “Two-step verification,” select “Turn on.”
- Follow the walkthrough to choose how you want to receive your second factor, such as via Microsoft Authenticator or SMS.
3. Yahoo Mail
- Log in to your Yahoo Account.
- Select Account Security from the personal info dropdown menu.
- Toggle the “Two-step verification” switch.
- Enter your phone number and verify it via a code sent to your device.
4. Apple Mail (iCloud)
- On your iPhone, go to Settings > [your name] > Password & Security.
- Tap “Turn On Two-Factor Authentication.”
- Enter your trusted phone number and complete the verification.
Once enabled, any Apple device that tries to access your iCloud email will be required to verify with a code.
5. ProtonMail
- Login and access Settings.
- Under “Security,” select Two-Factor Authentication.
- Scan the QR code using an authentication app like Authy or Google Authenticator.
- Verify by entering the six-digit code and save the changes.
Best Practices When Using Two-Factor Authentication
Enabling 2FA brings a substantial increase in security, but there are best practices to follow:
- Use an Authentication App: They’re more secure than SMS-based 2FA, which is vulnerable to SIM-swapping attacks.
- Backup Codes: Store these in a safe place in case you lose access to your phone.
- Avoid Public Wi-Fi: If you must use it, ensure you’re connected via a secure VPN.
- Update Recovery Options: Always keep your backup email and phone number current.

What to Do If You Lose Access to Your Second Factor
Losing your phone or device used for 2FA can be frustrating, but most platforms offer recovery options:
- Use Backup Codes: Provided during the setup of 2FA, these can be printed or saved securely.
- Use Trusted Devices: If previously allowed, you may still be able to log in on devices recognized by your account provider.
- Contact Support: While this usually requires additional verification, support channels can help you regain access.
Cloud-Based Email Services and Third-Party Email Clients
If you’re using email clients (like Thunderbird or Outlook desktop) with your secured account, ensure that an “App Password” is set up if the client doesn’t support 2FA directly. Providers like Google and Microsoft allow you to generate unique passwords for these purposes that work in tandem with 2FA.
Conclusion
Two-factor authentication is no longer optional—it’s a crucial element of digital safety. Email accounts are prime targets, and their compromise can lead to a domino effect of security issues. By implementing 2FA, users take a proactive step in safeguarding their data. Whether you’re a casual user or handling sensitive communications, enabling 2FA is a digital hygiene practice everyone should adopt.
Frequently Asked Questions (FAQ)
-
Q: What if I lose my phone used for 2FA?
A: Most services provide backup codes or alternative methods for access. You can also contact customer support after verifying your identity. -
Q: Are authentication apps better than SMS codes?
A: Yes, authentication apps are generally safer. SMS can be intercepted or subject to SIM-swapping attacks. -
Q: Can I disable 2FA once it’s enabled?
A: Yes, but it’s strongly discouraged. Disabling 2FA removes an important layer of protection from your account. -
Q: Do all email clients support 2FA?
A: Not all do. You may need to use an app-specific password when using email clients that don’t support 2FA directly. -
Q: Is biometric authentication considered a second factor?
A: Yes, biometrics like fingerprints or facial recognition qualify as a valid second authentication factor.
